What are they?
OctoPrint comes with a bunch of features that make 3D printing really fun and easy right out of the box, but what if there’s something you want that isn’t included? Enter plugins. OctoPrint offers the ability for anyone to create and share new features and abilities they’ve designed for OctoPrint to the community in the form of plugins. You can search the community plugin library for new plugins to install to give your copy of OctoPrint new and fun features. I’ll walk you through finding and installing a plugin in OctoPrint now. For my examples I’m going to be finding and installing the Bed Level Visualizer to my copy of OctoPrint v1.7.2.
Installation
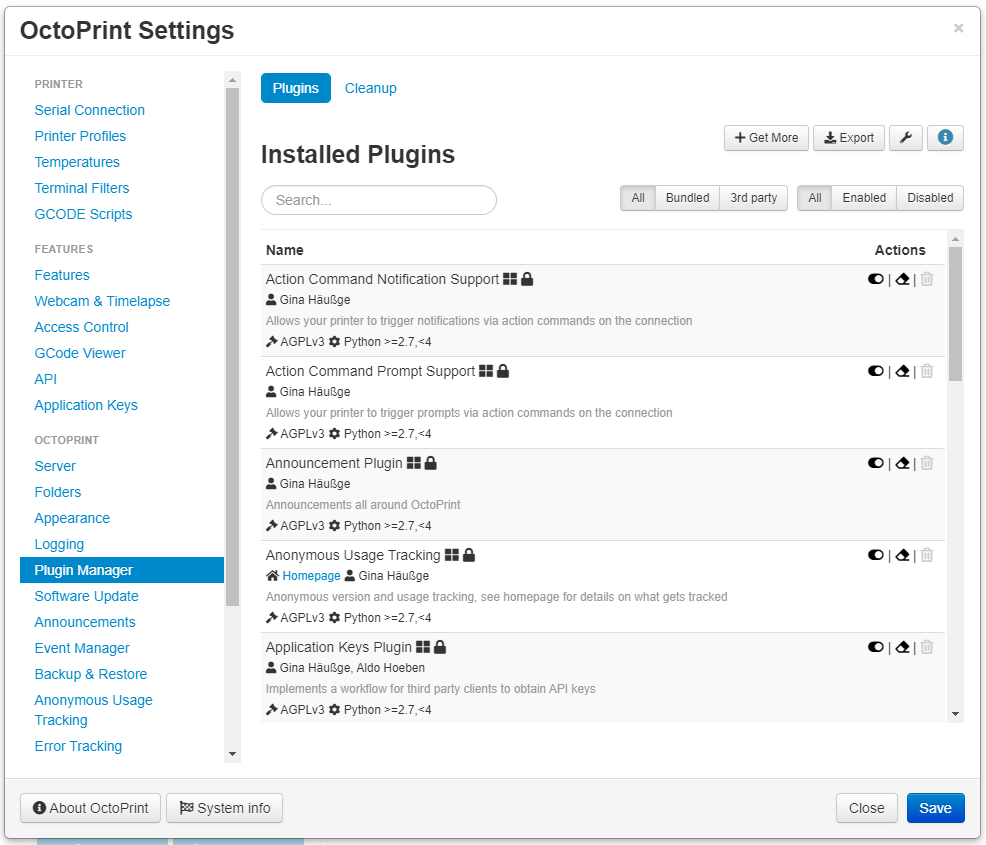
To install the new plugin open up your OctoPrint interface in a browser and click on the settings icon in the upper right corner of the page.
On the left side of the settings window click on Plugin Manager.
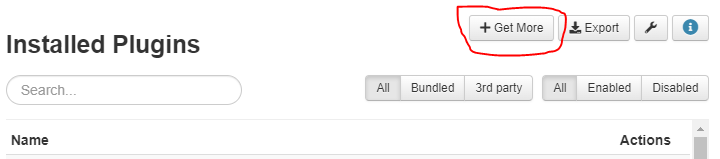
Click on the Get More button.
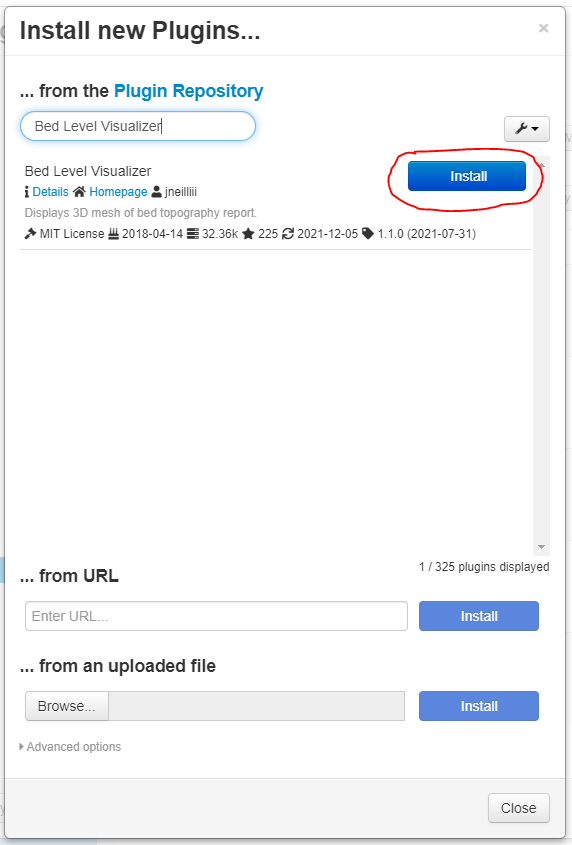
Type in the name of the plugin you want to install, in my case Bed Level Visualizer, in the search box at the top, then click the blue Install button to the right of the plugin you want in the list.
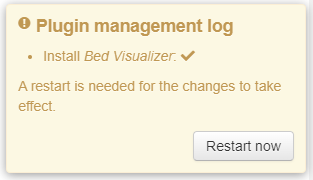
When the install is complete you will likely be prompted to restart OctoPrint. Click the Restart Now button and wait for the site to reload.
If you see an “Are you sure?” window, click the red Proceed button.
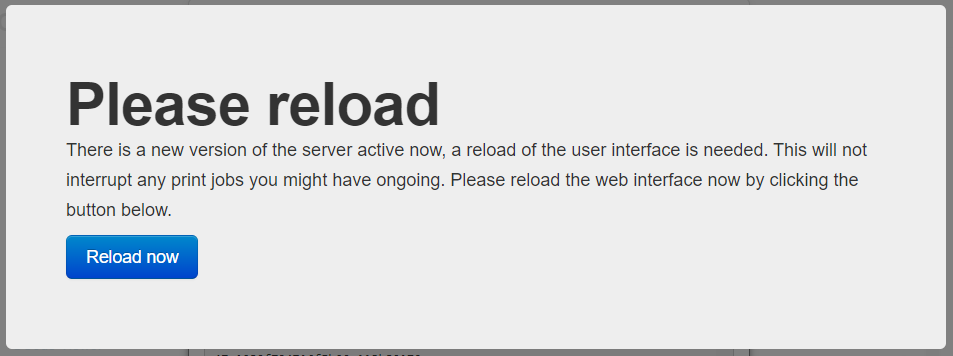
Whenever you’re installing new plugins in OctoPrint it’s very common to see a Please Reload window. This just indicates that the browser needs to reload, clearing cache. Click the Reload Now button.
All Done!
That’s it. You’ve successfully installed a new plugin on OctoPrint. Since every plugin is wildly different, the way you access and use that plugin is very different too. You’ll have to read the documentation on the plugin you chose to install to learn how to use it.