Basically calibration just makes your printer more accurate. So when your printer is trying to print something there is a big difference between what it thinks it’s doing and what is actually happening. You can think of your printer as being blind and trying to navigate through a room. Lets say your printer want to move forward in that room exactly 12 inches. Your printer assumes that 12 inches of movement is equal to one step, for example, so it takes that step and assumes it is exactly 12 inches away. If you measure, however, you might find that it is actually 11.5 inches. This can cause issues with the quality of the prints your device is making.
Is calibration necessary?
I’ve heard many arguments saying that you absolutely calibrate your machine for various reasons. My opinion, though, is that it depends on what you’re using your printer for. I have a couple Polaroid desktop printers that I use to make knickknacks and small toys. These printers have a proprietary operating system that doesn’t allow me to calibrate them, but honestly I don’t think they need it. When I’m printing a small toy for my kids to play with, dimensional accuracy doesn’t really matter. I mean, if the toy turns out to be +/- 3mm it doesn’t really matter as long as I’m happy with the overall quality. Now if I’m printing a new battery door for a remote control for my son’s RC car, I need to make sure that the size is perfect or it won’t fit. In that case I need to calibrate.
Lets calibrate already…
Ok, let’s get on with the calibration steps. These steps assume that you have an FDM (filament based) printer, not an SLA (resin based) printer. My printer is a TEVO Tornado running Marlin 2.0, which you’ll see me reference in these steps.
Extruder calibration
For this step you’ll need a fine tip marker and an accurate caliper.
Raise your nozzle away from the bed a few inches so you can extrude a decent amount of filament.
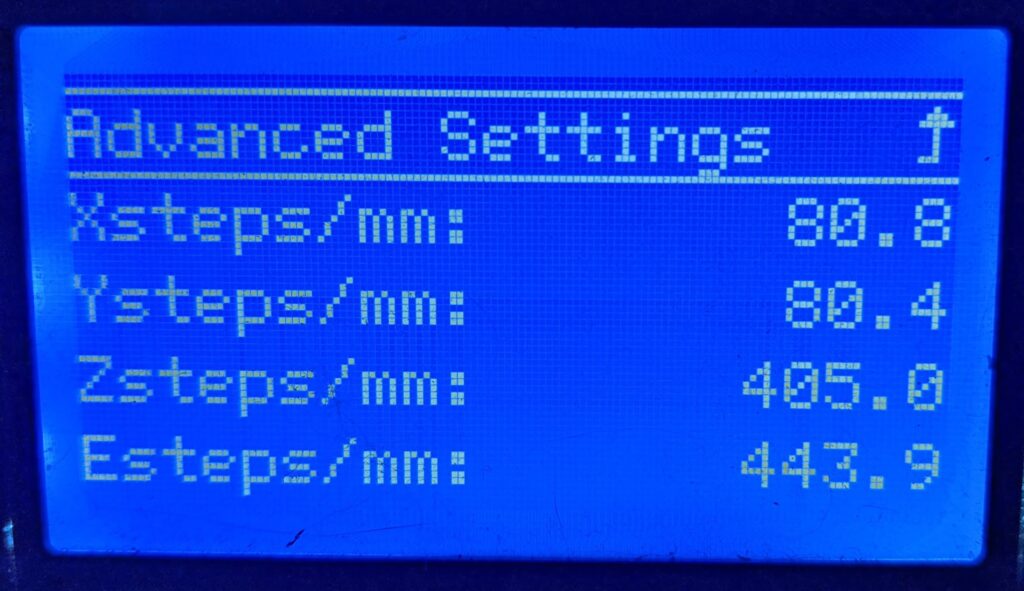
Record your current extruder steps, you’ll need this number later. On Marlin this is found in the menu at Configuration > Advanced Settings > Steps/mm.
This displays the X, Y, Z, and E (extruder) steps. These are the steps you’ll use for the rest of the calibration instructions.
Heat the nozzle to whatever temperature you normally use for printing. For me that is 220° C.
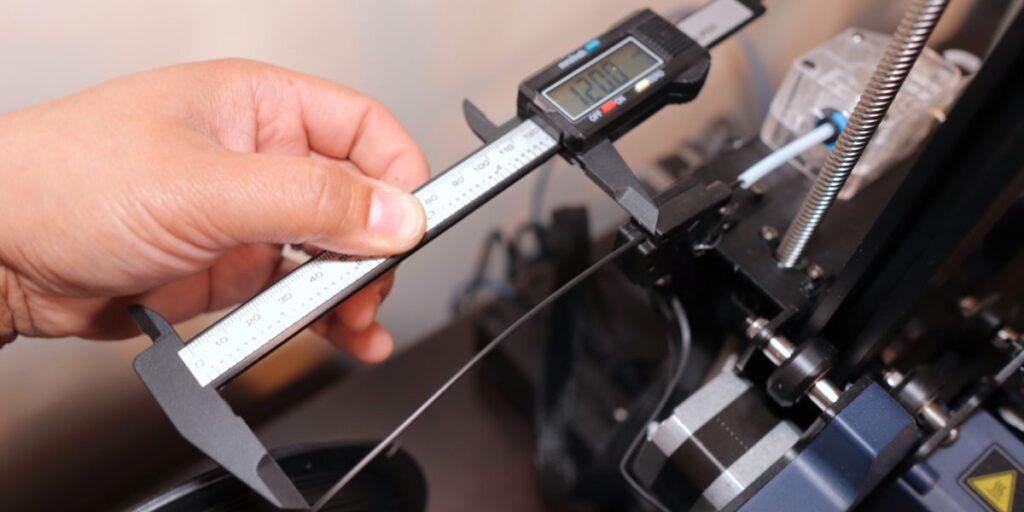
Starting at the point that your filament enters your machine, measure back 100 mm and mark the filament with the marker.
Tell the printer to extrude 20 mm of filament.
Now measure the distance from the machine to the line you previously made.
Now we’re going to do some math. You need to know three numbers, your extruder steps, the length you wanted to extrude, and the length that actually extruded. So the formula is:
$$e * d \over a$$
Where “e” is the steps you recorded, “d” is the desired length, and “a” is the actual length. So lets say your steps are 80.75, you told your printer to extrude 20 mm and it actually extruded 20.1 mm. You would do the following math:
$$80.35={80.75*20 \over 20.1}$$
So your new steps are 80.35. Now change you would change your extruder steps from 80.75 to 80.35. After this change you’ll want to save your changes to the printer’s memory (EEPROM). In Marlin this is located in the menus at Configuration > Store Settings.
Now repeat steps 5 and 6 again and see if the amount you actually extruded is closer to the amount you told it to extrude. If not, do step 7 again and repeat. the closer you get the amount you actually extruded to what you told it to extrude, the more accurate your prints will be.
XYZ Calibration
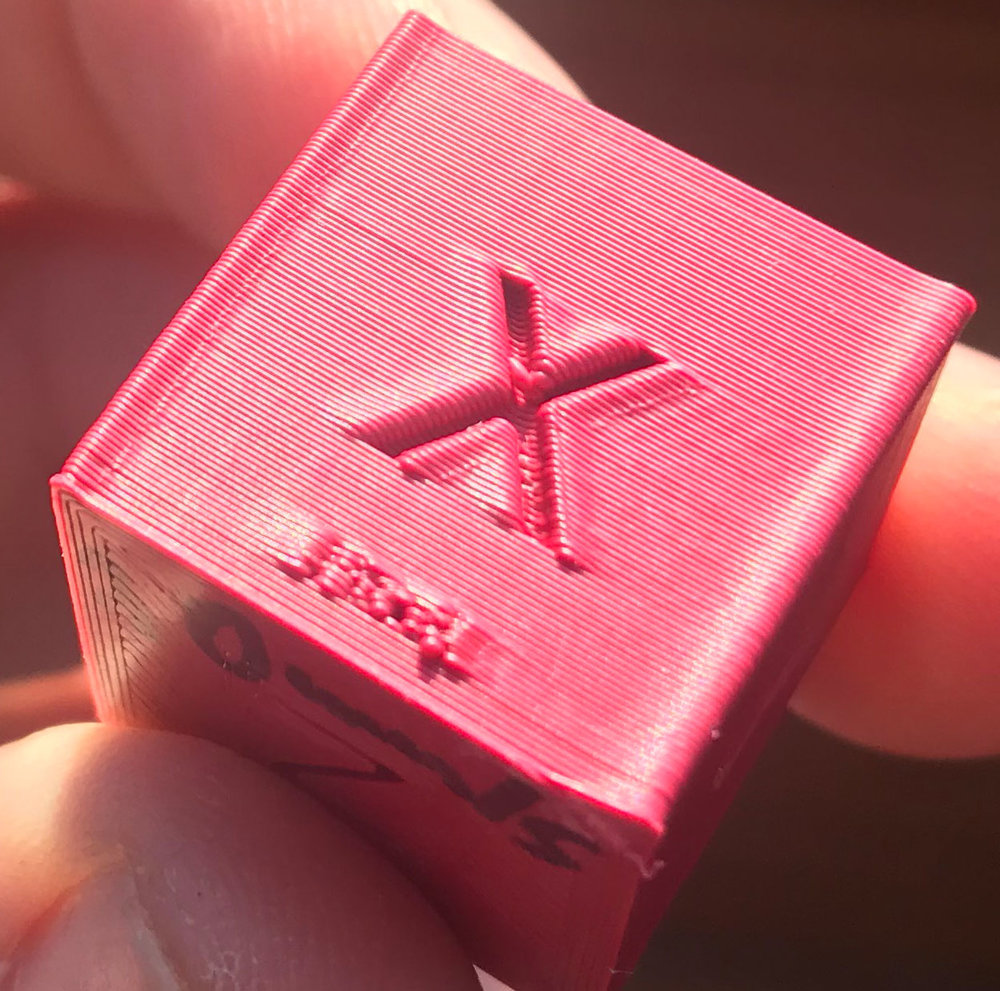
Now that the extruder is calibrated we can calibrate the X, Y, and Z axes of the printer. For this step you’ll need to print an XYZ cube. You can find this model on Thingiverse by clicking here. Once the cube is printed, complete these steps for each axis.
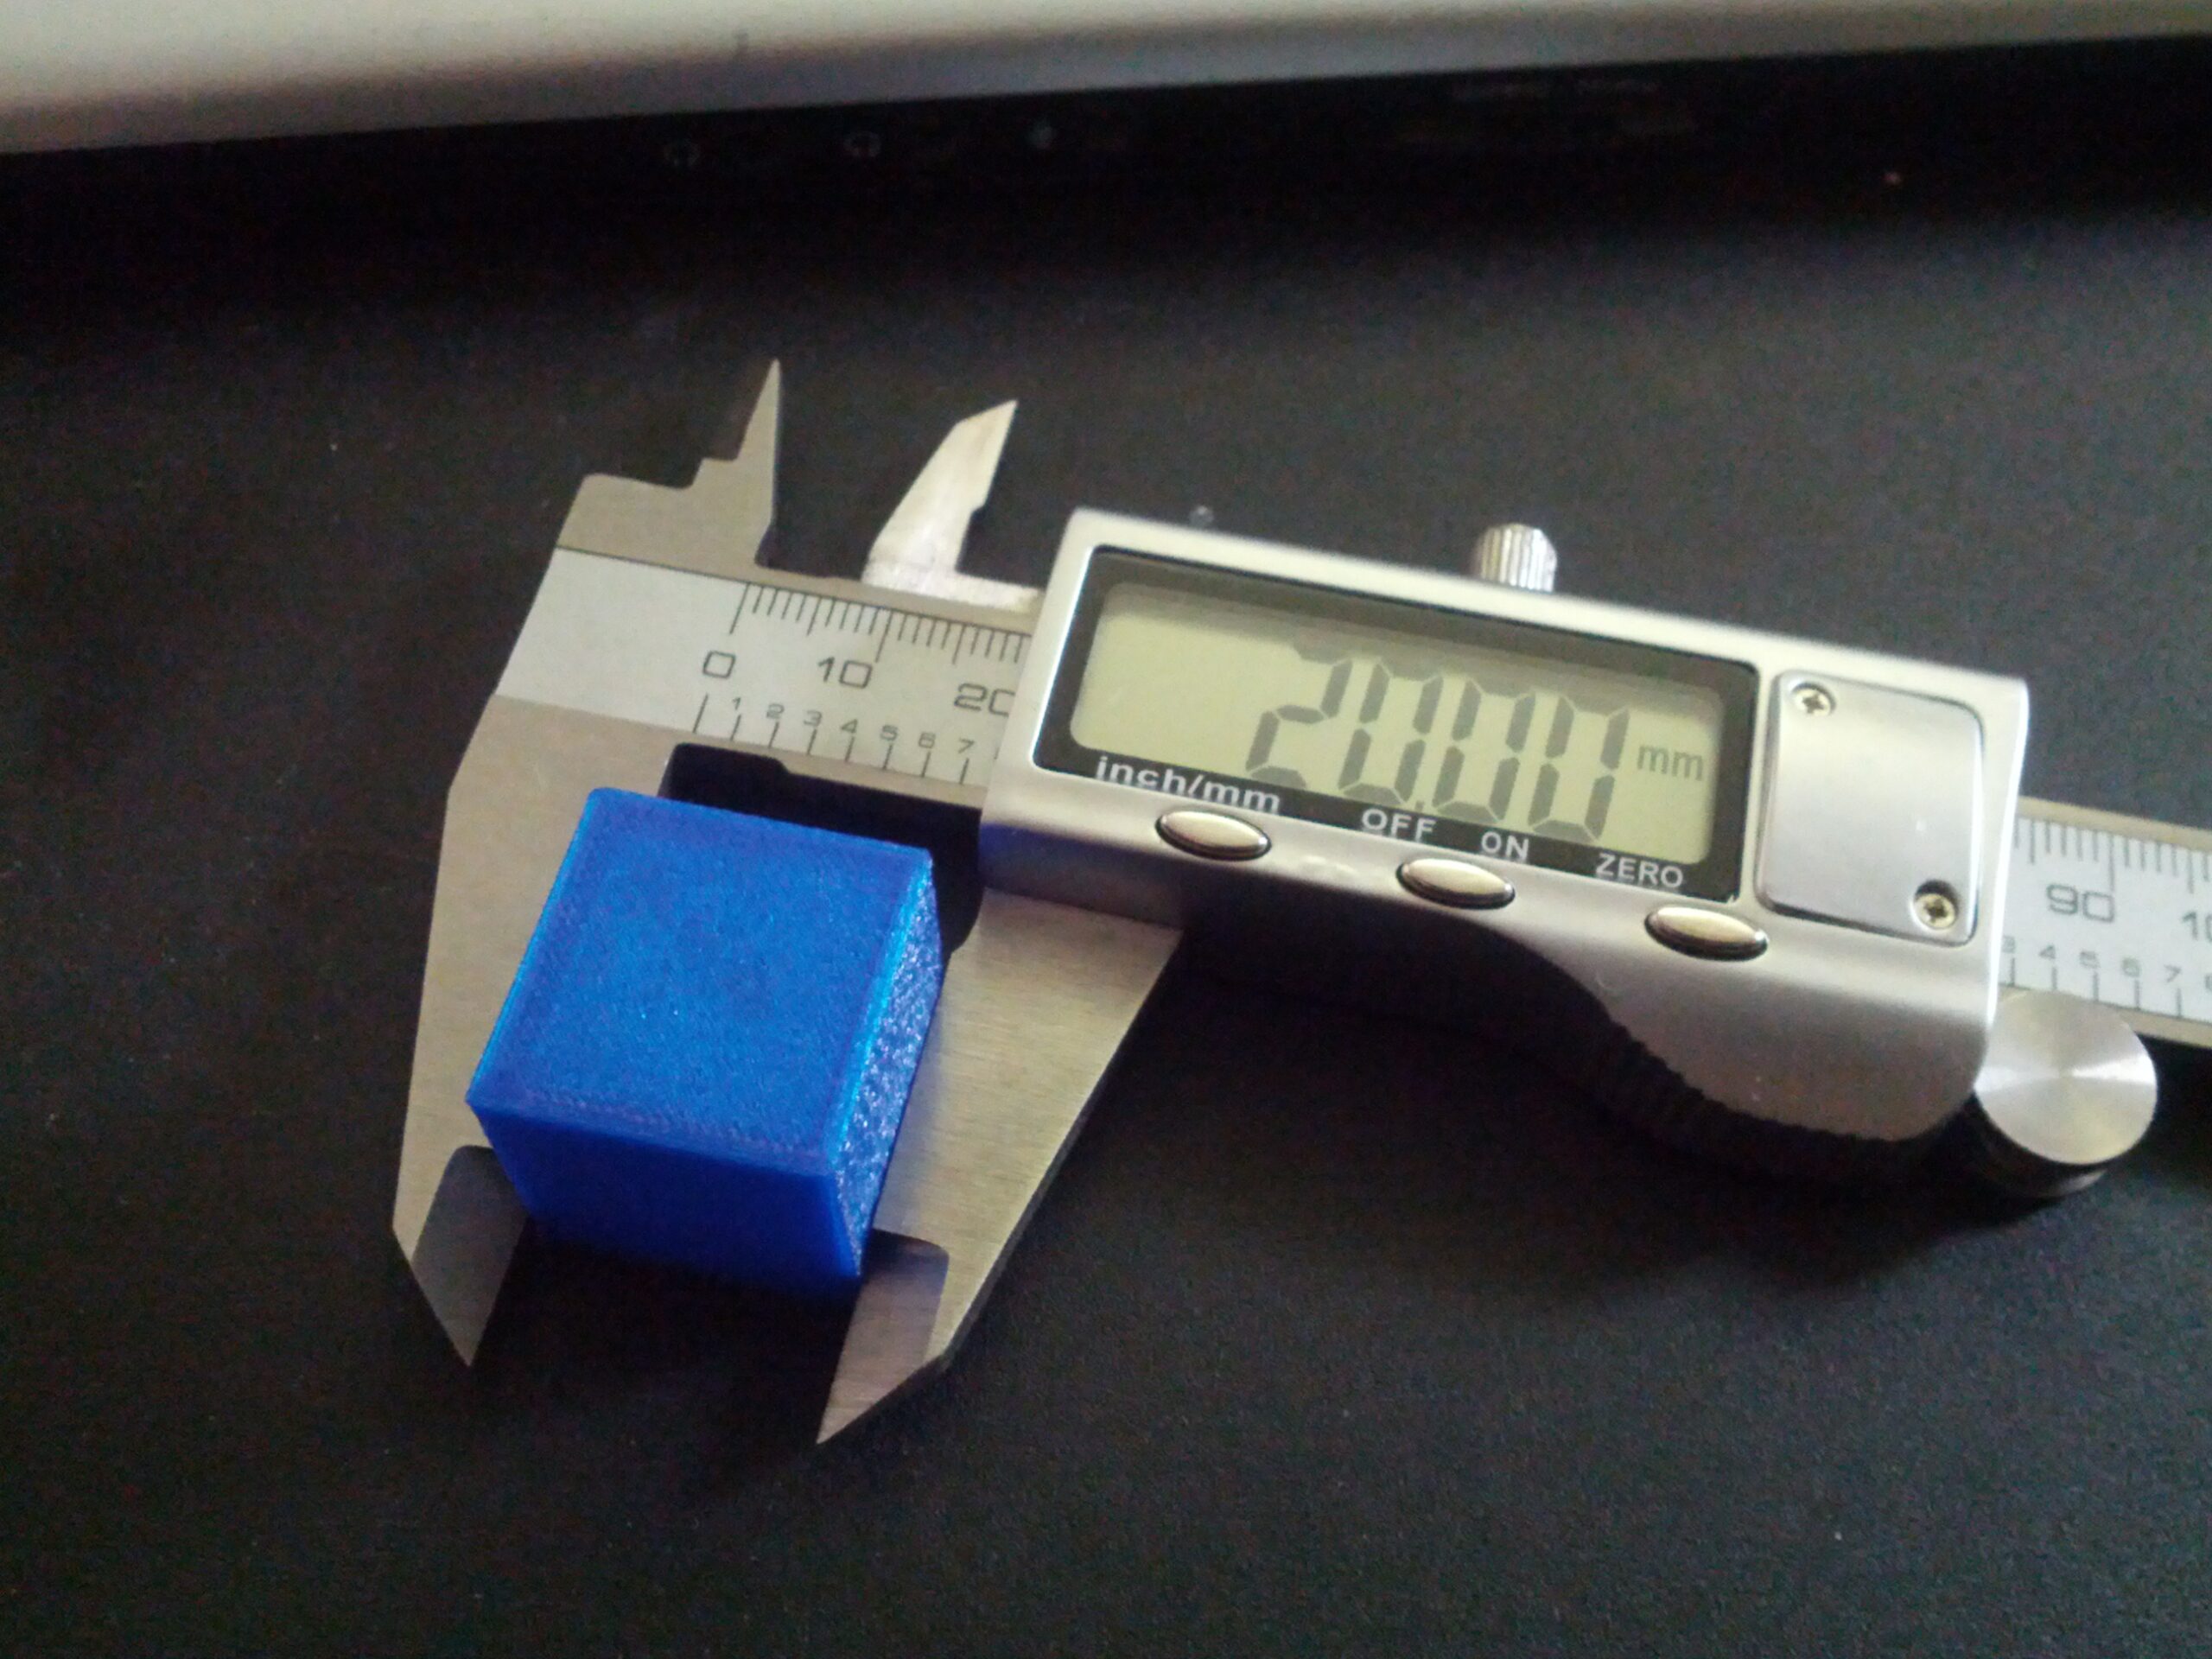
Measure the side of the cube that corresponds with the axis your calibrating. This will be your “Actual” measurement.
In your printer’s menu find and write down the steps for the axis your calibrating. This is the same as step 2 in the extruder calibration section of this page.
Now your going to do the same math you did for the extruder. Each side of the cube is supposed to be 20 mm, so you can use 20 as the “Desired” value in the formula. So if the side you measured is 19.28, and your steps are 80.35, the formula would look like this:
$$83.35={80.35*20 \over 19.28}$$
Now your new steps for this axis are 83.35. Update this value for this axis in your printer’s settings and save them to the printer’s memory.
Once you have done these steps for all three axes, print the cube again and repeat steps 1 thru 3. the goal is to get each axis as close to 20 mm as possible. The closer you are to 20 mm the more accurate your prints will be.
Calculator
Enter your values for desired length, actual length, and starting steps into the calculator below to calculate your new steps.
Desired:
Actual:
Steps:
New Steps:
Final notes
A couple of notes on measuring. You want to make sure that when you’re measuring your XYZ cube that you check for defects in the print first. If your cube has elephants foot, for example, this will throw off your measurement of the Z axis. Also if you notice that the corners of the cube stick out a bit you’ll want to measure from the top of the cube and avoid the corners.
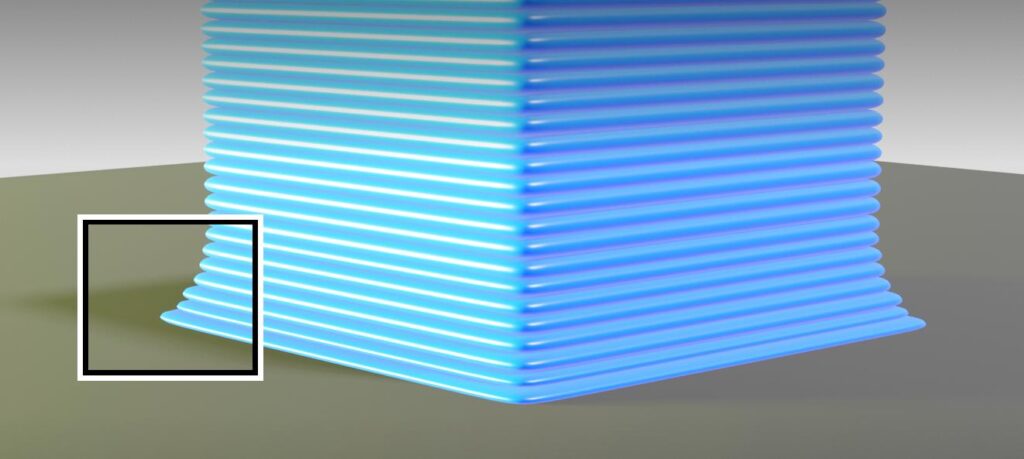
Elephants Foot
Elephant’s foot is usually caused by the nozzle being too close to the bed when it begins the print. If you level the bed manually with a piece of paper, you’ll want to loosen up on the paper a bit more before your print. If you use an auto bed leveler like a BLTouch you’ll want to adjust your Z offset in the printers menu to increase the distance of the nozzle from the bed (don’t forget to save). Finally elephant’s foot can also be caused by the bed being too hot for the filament you’re using, so if raising the nozzle isn’t fixing the problem you can try to decrease the temperature of the bed by 5° C at a time.
Round Edges
Bulging corners (round edges) are an issue with your print speed, acceleration and jerk settings. We’ll go over those setting in a later posting.
Helpful Links
When I was first learning to calibrate my printer I found this video on the Where Nerdy is Cool! channel that was extremely helpful.
I'm a tinkerer. I like to learn about anything and everything, and I love to create. I was bitten by the tech bug as a kid and have been driven to learn and build ever since. Whether it's software or robotics, I'm in!